Initial Setup
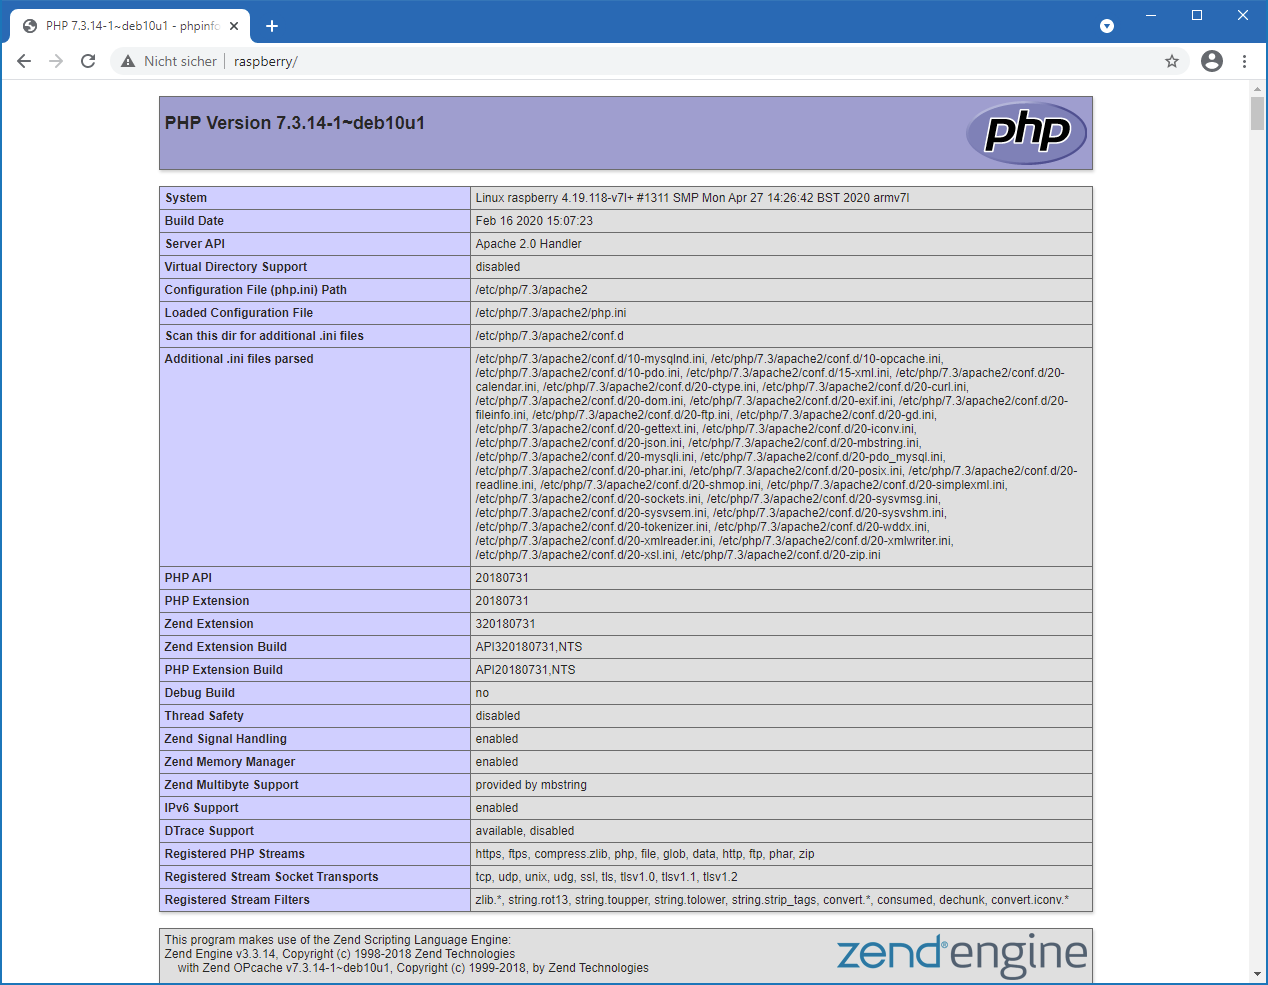
After the SD card has been flashed (or the pre-flashed card has been delivered), it is inserted into the Raspberry. The metal contacts of the card should face upwards (towards the board) first into the SD slot. Then the network cable must be plugged in and the device connected to power. The initial commissioning can take a few minutes; a restart later goes a bit faster. After a few minutes, the Raspberry should be accessible by entering "http://raspberry". There is no "https://" here. But since this has become standard for public websites for good reasons, please definitely type "http://raspberry". The browser may produce a warning, which is ok and can be confirmed. The following image should then be visible, confirming that the Raspberry is reachable and functioning:
You can then access the admin panel and begin the initial configuration of TeslaLogger. Please call "http://raspberry/admin", the admin panel appears:
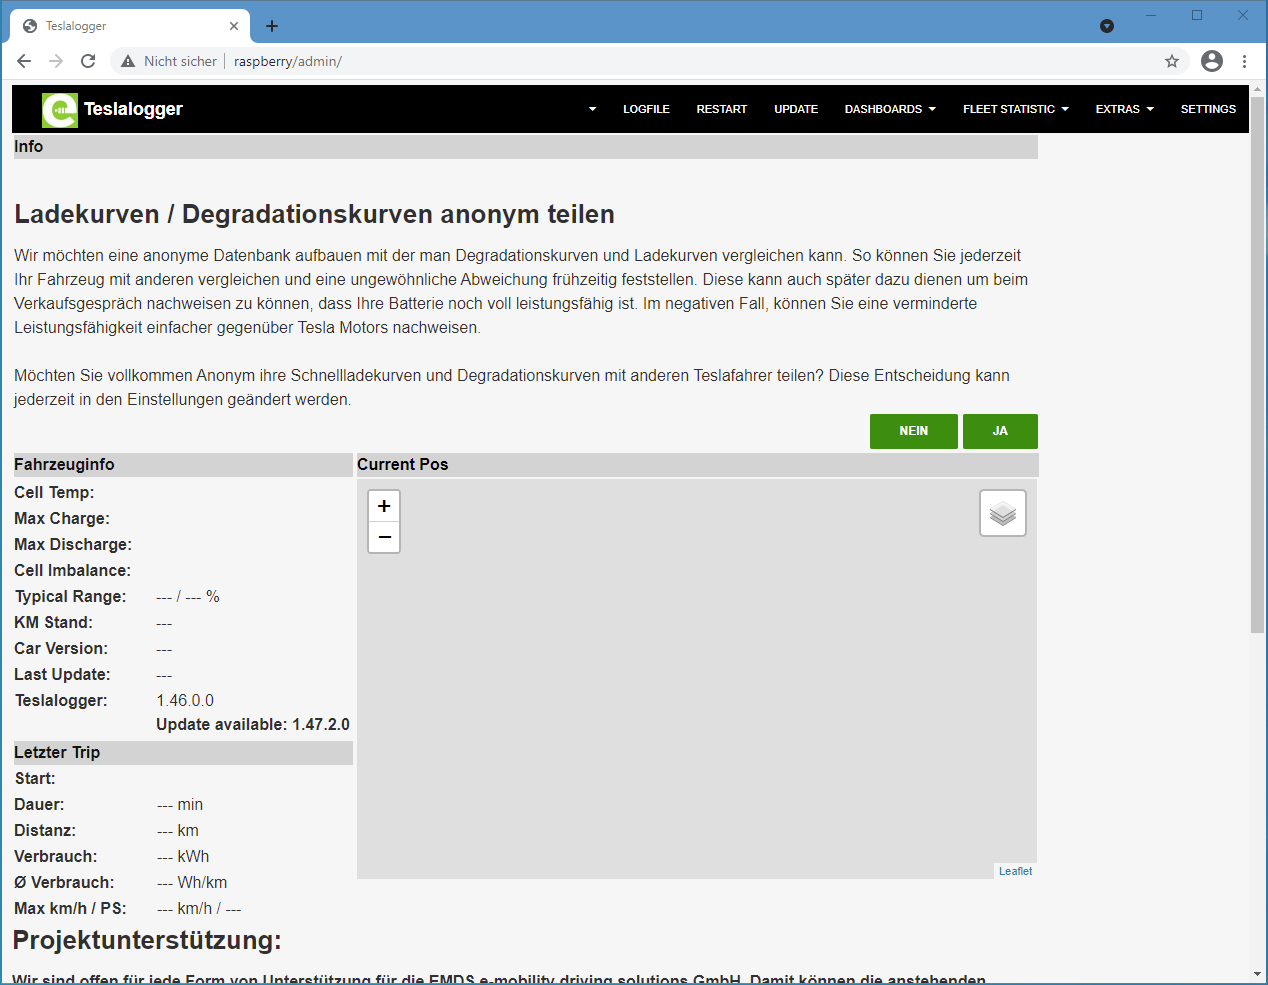
Here, two important things are visible:
- The question about anonymous data sharing in the upper third
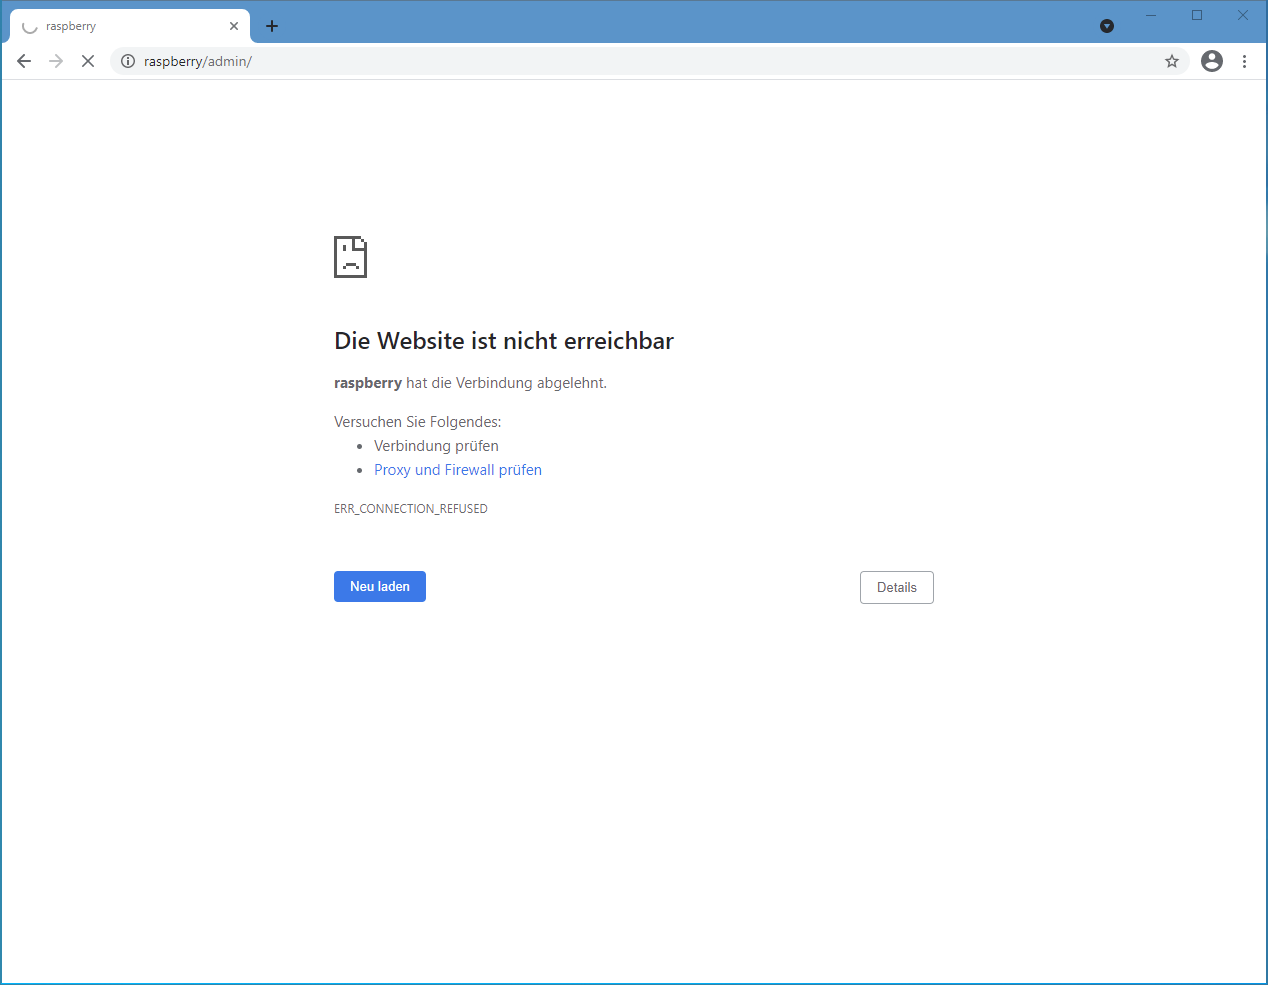
- The notice that an update is available (here: 1.47.2.0, the images were made with 1.46.0.0). The notice naturally only appears if the image is not 100% current – but this will usually be the case. We recommend activating anonymous data sharing, as the entire TeslaLogger community benefits from this statistical data. The corresponding data can be viewed in the menu under "Fleet Statistics". The setting can be changed at any time in the menu "Settings" and is described on page 20, "Fleet Statistics". Updates are important, bring new functions, and in many cases also fix known errors. We recommend always activating the updates as shown here. This can also be automated via the menu "Settings" and we recommend performing the update before any other setup activity. This can be initiated via the menu at the top by pressing "Update". The Raspberry will confirm a restart and will be available again after 2-3 minutes (simply press F5 after 2-3 minutes to refresh the image and check that the TeslaLogger version is now at the announced level). If this image appears, the Raspberry has not yet fully restarted; it needs a little longer:
When the image is up to date, there are two options. The initial setup for those who have not used TeslaLogger before and the setup of this instance for people who are switching from an old image/old installation, for example from a Raspberry 3 to a Raspberry 4.