TeslaLogger Setup with Existing Backup
Important: The previous TeslaLogger from which the backup is used must be switched off at this time!
The existing backup is performed in two steps. The order is not really critical, but we recommend restoring the personal geofence file first. For this purpose, click in the address bar at the top in Windows File Explorer and enter "\raspberry\teslalogger". A prompt to enter the password will then appear. This is "pi" and "teslalogger". There is already a file "geofence.csv" (not to be confused with the non-personal file "geofence-private.csv") there, which must be replaced with your own file. If the data backup contains a file with the extension ".gz", this must first be unpacked, for example with 7Zip – only a plain text file with the extension .csv may be placed here.
Then, in the admin panel, select "Restore" under the menu "Extras". Using the "Select file" button, select the existing backup, which is usually called "mysqldump….gz". The file with this file extension can be specified here.
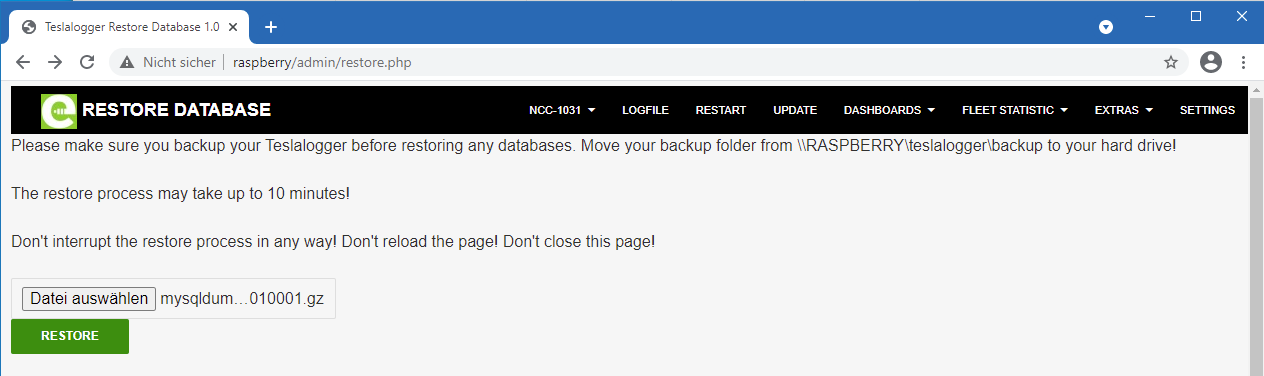
After clicking "Restore", it takes a few minutes until the success message appears:
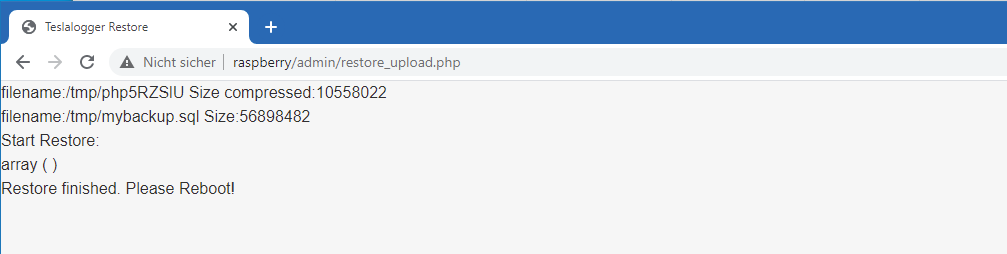
At this point, use the "Back" button of the web browser and then press "Restart" in the menu. After a few minutes, the new TeslaLogger will work with the transferred data.
If TeslaLogger is not accessible as "raspberry" in the home network (this can be configured accordingly with some routers), the corresponding name must now still be configured in the menu "Settings" for the admin panel and Grafana. In the author's case, it looks like this:
